Order a dozen shipped hatching eggs and you might get ten fluffy chicks - or four. A 40-60% hatch rate is a reasonable expectation, compared with 75-90% for fresh eggs you collect from your own flock and set the same day. That gap is not bad luck or a dishonest seller. It is physics: every mile of vibration, every temperature swing in the back of a truck, and every day of transit adds up against the embryo before you even plug in the incubator.
Going in with accurate numbers matters, because the biggest beginner mistake with shipped eggs is blaming technique when the real culprit was the journey. This guide covers what actually happens during shipping, the steps that genuinely move the needle, and what to do when candling reveals a mixed bag.
Why shipped eggs hatch worse
Mississippi State University Extension puts the principle plainly: "The hatching egg is at its highest quality at the time it is laid." Everything after that is decline - and shipping accelerates it on several fronts at once.
Age. By the time a seller collects, boxes, and ships a dozen eggs and they reach you, the eggs are often 5-10 days old - sometimes older if the seller waited to fill an order. Research published in Poultry Science found that storage beyond seven days cuts hatchability by roughly 0.5% for each additional day. A 12-day-old egg has already lost a measurable share of its starting advantage before you set it.
Air cell damage. The air cell sits at the broad end of the egg, cushioned by two shell membranes. Sustained vibration - the kind a postal truck delivers over hundreds of miles - shakes that cell loose from the inner membrane. A detached or "floating" air cell moves freely inside the egg. When you candle it you see it sloshing from side to side rather than sitting firm at the top. An egg with a badly detached cell can still hatch, but the chick must pip through a moving target, and early embryo mortality is higher.
Temperature stress. Hatching eggs should be held between 50-65°F (Mississippi State Extension). A package riding in an unheated truck in January or a hot cargo hold in July can blow past both ends of that range for hours. Even brief overheating is dangerous: the MSU Hatchery Management Guide notes that 105°F for just 30 minutes kills many embryos.
X-ray exposure. Packages routed through certain distribution hubs may pass through X-ray scanning. Whether postal X-ray doses measurably harm embryos is genuinely debated - no peer-reviewed study we found establishes a clear causal link at standard screening doses - but sellers routinely label boxes "Hatching Eggs - Do Not X-Ray" as a precaution, and that seems worth doing.
Fertility is the biggest variable you cannot see. A regression analysis of hatchability parameters found that fertility alone accounts for more than 71% of the outcome. If the breeding flock had a poor season, no amount of careful incubation rescues an infertile egg. That is the honest limit of what you can control.
The rest period: what it does and how long
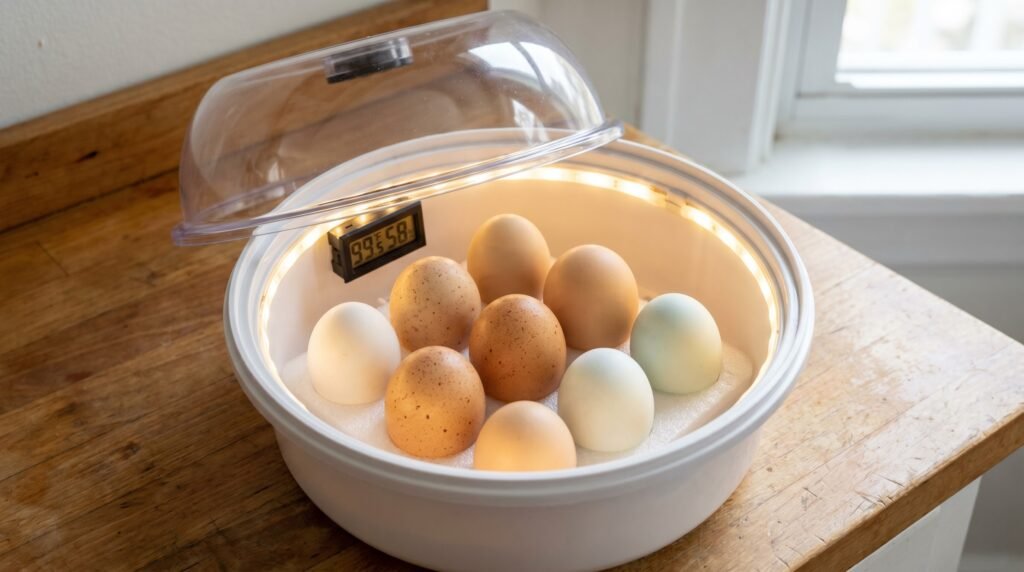
When your box arrives, do not rush the eggs into the incubator. Set them large end up in an egg carton at room temperature and leave them alone for 12-24 hours. Two things happen during that window: the air cell - especially if it shifted in transit - has a chance to migrate back toward the broad end, and any temperature shock from the journey has time to equalize before the embryo faces incubation heat.
Twenty-four hours is better than 12 if the eggs feel cold to the touch or if the air cells look badly detached at first candling. Some experienced hatchers push to 48 hours for eggs that traveled more than two days in severe weather - but beyond that, age works against you. You are balancing air-cell recovery against continued quality decline, and the research on storage duration suggests keeping pre-incubation delays short.
Keep the room at 55-65°F during the rest period. Below 50°F stresses the embryo; above 68°F risks uneven early development that can disrupt normal incubation once the eggs go into the machine.
Candling: reading what the eggs are telling you

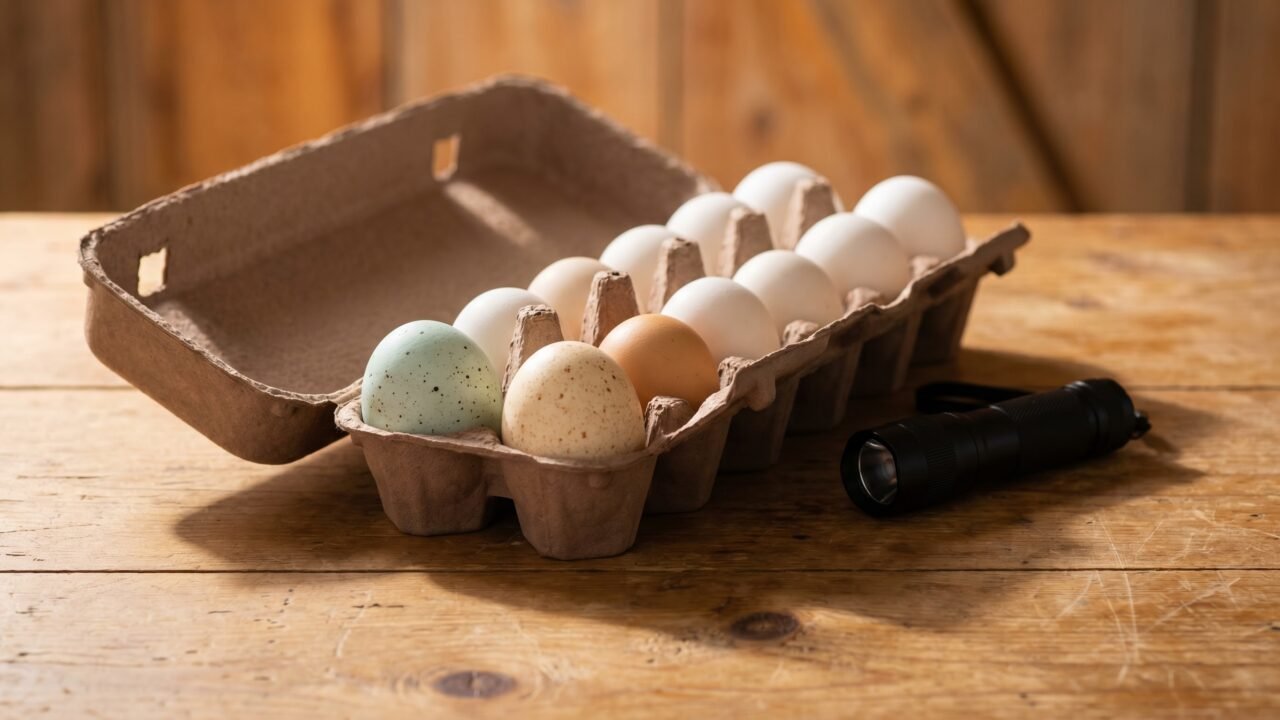
Candle twice: once immediately on arrival to assess air-cell damage, and again around day 7-10 of incubation to check embryo development. As a general rule, work in small batches - no more than 5-7 eggs per session - and return eggs to the incubator within 5-10 minutes to avoid temperature drops.
Our candling guide walks through what to look for at each stage - spider-web veining at day 7, movement at day 10, and the dark mass that fills most of the egg by day 14. For shipped eggs specifically, focus the day-1 candle on the air cell:
- Normal: Air cell sits still at the broad end, clearly defined, slightly concave. These eggs can be turned in the standard horizontal position.
- Saddled or wavy: Air cell is off-center or has an irregular outline but does not move freely. Incubate upright (large end up) for the first 7 days, then resume normal turning.
- Detached (floating): The bubble rolls from side to side when you tilt the egg. Incubate upright the entire hatch, without turning for at least the first 7 days. Hatch rates on badly detached cells are lower, but some do hatch.
By day 10, any clear egg - no visible veining, no dark mass - is almost certainly infertile or an early death. Pull them. Leaving them risks a "quitter" exploding and contaminating the whole batch.
The table below gives a reference for what you should see at each candle check on shipped eggs. Use it alongside our incubation temperature and humidity guide to track both development and environment at the same time.
| Day | Healthy sign | Problem sign | Action |
|---|---|---|---|
| Arrival (day 0) | Air cell firm at broad end, no cracks | Air cell floating or saddled; visible cracks | Discard cracked eggs; incubate damaged air cells upright |
| Day 7 | Spider-web veining; dark spot (embryo) visible | Clear, blood ring, or only yolk shadow | Remove clear/blood-ring eggs; continue monitoring the rest |
| Day 10 | Embryo and vessels fill roughly half the egg | Still clear; dark mass with no movement | Remove non-developing eggs; confirm day-7 and day-14 weight checks are on track |
| Day 18 (lockdown) | Dark mass fills most of egg; air cell large and clearly visible | Rotten smell; very small air cell | Remove bad eggs; raise humidity to 65%+; stop turning |
Incubation tweaks that help with shipped eggs
The core parameters do not change just because eggs were shipped - the embryo still needs the same temperature, humidity, and turning regime. What changes is your attention to each variable and a few tactical adjustments for damaged air cells.
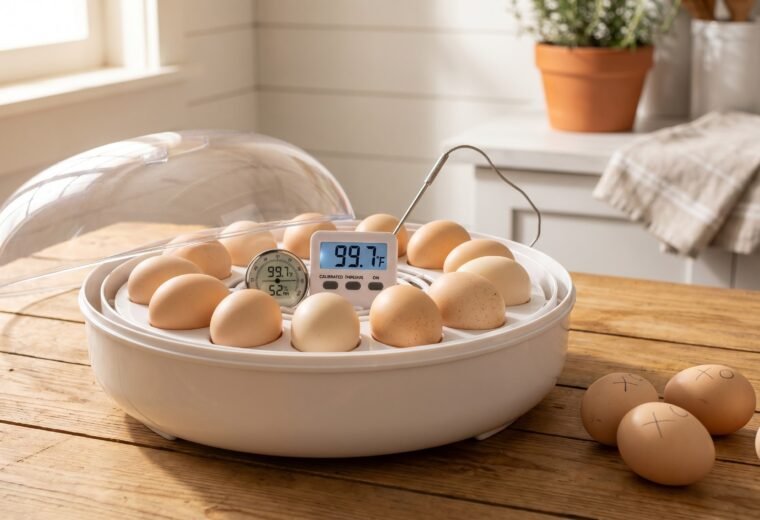
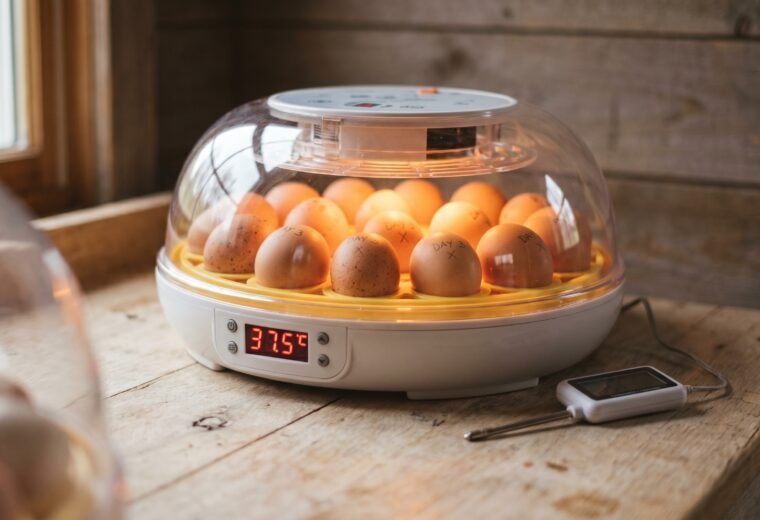
Temperature. A forced-air incubator should run at 99.5-100°F throughout (MSU Extension). Still-air machines run hotter at the top, so MSU recommends 102°F measured at egg height. Neither type tolerates much drift: temperature variation beyond 1°F above or below target meaningfully reduces the final count. Shipped eggs, already stressed, are less forgiving of careless calibration. Invest in a second thermometer and verify your incubator's readout against it before you set the eggs.
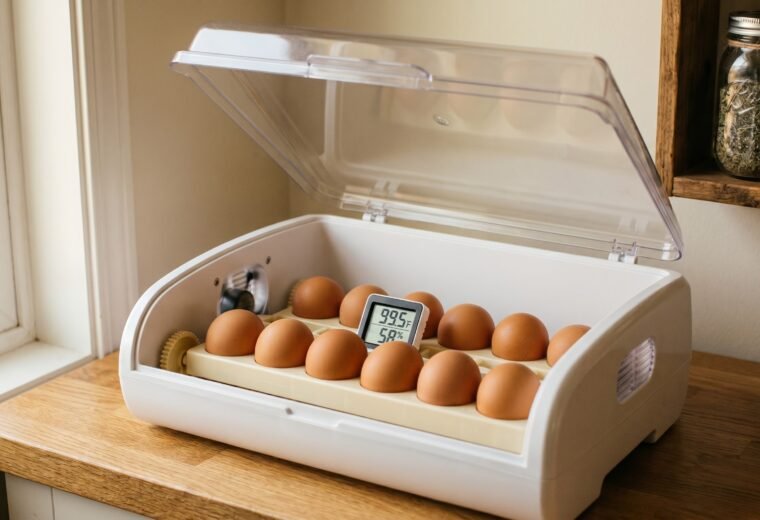
Humidity (days 1-18). MSU Extension targets 58-60% relative humidity for the main incubation period. For shipped eggs specifically, some hatchers run the first week slightly lower - around 50-55% - so that moisture evaporates faster and encourages a detached air cell to re-seat. There is no university-backed controlled trial on this adjustment for shipped eggs specifically; it is a working theory from the hobby community and carries a tradeoff: lower humidity means faster weight loss, and eggs need to lose roughly 12% of their starting weight by day 18 (PMC poultry-science data). Weighing a sample of eggs at day 7 and day 14 is the most reliable way to confirm you are on track. If they are losing weight faster than roughly two-thirds of a percent per day - which is what the 12% total target works out to on average across 18 days - raise humidity slightly.
Turning. MSU Extension says to turn eggs at least 4-6 times daily and to stop on day 18. Illinois Extension notes bluntly that an embryo that is never turned dies around day 11. For shipped eggs with normal or slightly saddled air cells, this applies as written. For badly detached air cells, many keepers skip turning entirely for the first 7 days, keeping the egg upright so the air bubble gravitates back toward the broad end. After day 7, if the cell appears to have reattached at the next candle, resume gentle turning - but some choose to hatch the entire batch upright with no turning, accepting a modest additional penalty in exchange for not disturbing a fragile cell.
Lockdown. Move to lockdown at day 18: stop turning, raise humidity to 65% or higher, and do not open the incubator unless there is an emergency. The rule applies to shipped eggs exactly as it does to any hatch. Our step-by-step guide at how to incubate chicken eggs covers lockdown through pip-to-chick in full detail.
Incubator choice. A forced-air model holds temperature more evenly than a still-air unit, which matters more for shipped eggs because you are already starting with a disadvantaged batch. If you are shopping for your first machine, the comparison at best chicken incubators breaks down forced-air vs. still-air alongside other features worth considering.
Setting honest expectations
A 40-60% hatch rate on shipped eggs is normal and not a sign of failure. If 12 eggs arrive and 6 hatch, that is a good shipped-egg result. If 8 hatch, that is exceptional. Zero is also possible - not because you did anything wrong, but because the batch arrived with heavily detached cells, or transit took five days in July heat, or the breeding flock was simply having a low-fertility week.
A few realistic benchmarks to set before you start:
- Expect at least 2-4 eggs to show no development at the day-7 candle, even on a well-packed batch. Some of those will be infertile; some will be early deaths from transit stress.
- Quitters (embryos that start but stop) are more common in shipped eggs than in local ones. They tend to show up as fully dark but non-moving eggs at day 14, or as late pippers that never break through.
- Shipped rare-breed or bantam eggs from a single small breeder carry extra uncertainty - the breeding flock may be small enough that one rooster's fertility matters enormously.
- If your first shipped hatch is 0%, candle each unhatched egg before discarding it. A batch of infertile clears suggests a seller-side fertility problem, not an incubator problem. A batch of full-term deaths that did not pip suggests humidity or turning issues in your incubator.
The candling data you collect through your first two or three shipped hatches is genuinely useful. Write down arrival air-cell condition, day-7 development rate, and final hatch percentage. Over three batches you will have a real picture of which sellers pack well, which seasons work better for shipping in your region, and whether your incubator is performing consistently.