Dirty bedding and stale waterers are the fastest path from a healthy flock to a sick one. The good news: a consistent three-tier routine - daily, weekly, and seasonal deep clean - keeps ammonia below the danger threshold and birds off the vet's floor. Here is exactly how to do it, in the order that saves the most time.
Most problems come not from skipping the big annual scrub but from letting small daily messes compound. Wet litter is the real culprit. Research published in Frontiers in Veterinary Science found that high moisture in bedding raises ammonia through increased microbial activity, directly causing respiratory and eye lesions - and the same wet conditions encourage Salmonella, Campylobacter, and Listeria spp. to multiply. Stay dry, stay ahead.
What should you do every day to keep the coop clean?
Scrape the drop board, check the water, and pull any damp bedding. Those three tasks take five minutes and prevent the slow build-up that makes weekly and deep-clean sessions far harder than they need to be.
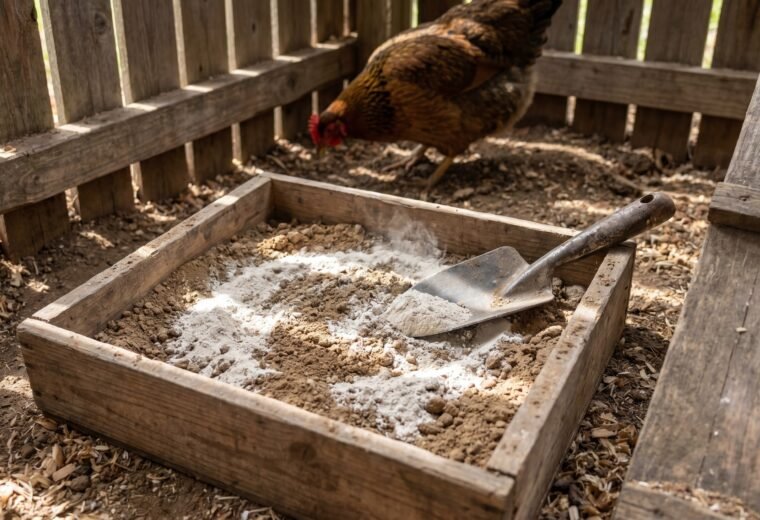
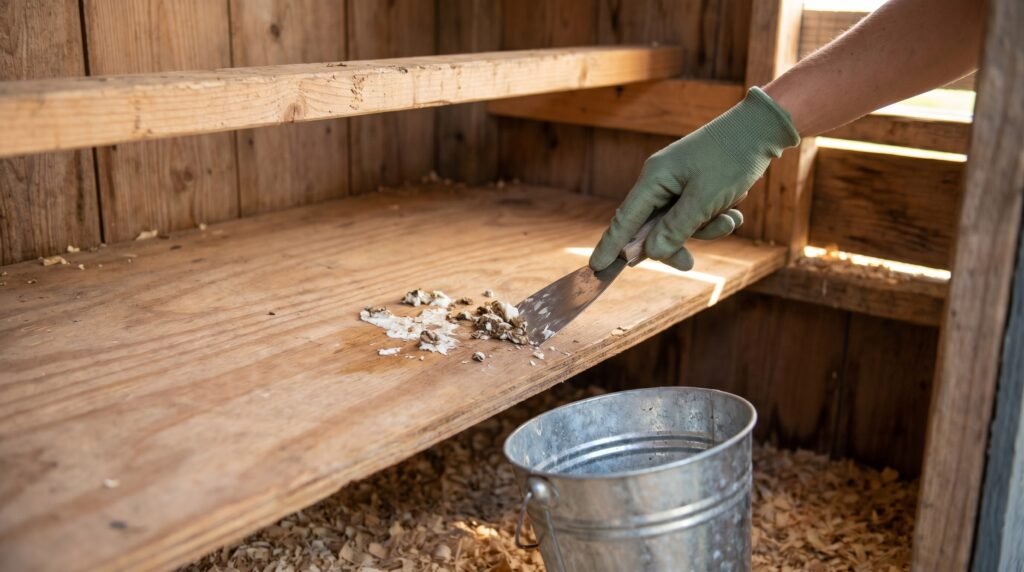
The single biggest lever in coop hygiene is a drop board under the roost. Chickens do the bulk of their overnight defecating while perched, so a flat board or tray beneath the bars concentrates the daily manure output in one spot. Scrape it clean each morning - an old metal spatula or a dedicated paint scraper works well - and dump the contents into a compost bucket. The whole job takes about two minutes once you have the rhythm.
While you are in there, do a quick visual of the water. MSU Extension recommends cleaning waterers thoroughly every day, and that standard is worth keeping. Biofilm and algae develop faster than most keepers expect, especially in warm weather. Rinse and refill; scrub with a stiff brush every couple of days. Feeders get a quick knock-out of any wet or crusted feed to keep mold from forming.
Walk the floor while you are collecting eggs. Feel the bedding near the waterer and in low corners. Damp patches belong in the compost pile right now, not at next week's cleaning. A small scoop of fresh pine shavings over the bare spot seals it quickly.
What should you check each week beyond the daily routine?
Once a week, inspect the bedding in corners and around the roost base, test ventilation adequacy by checking for ammonia smell, and refresh nest box material. Catching moisture or pest activity at the weekly stage prevents problems that become expensive at the deep-clean stage.
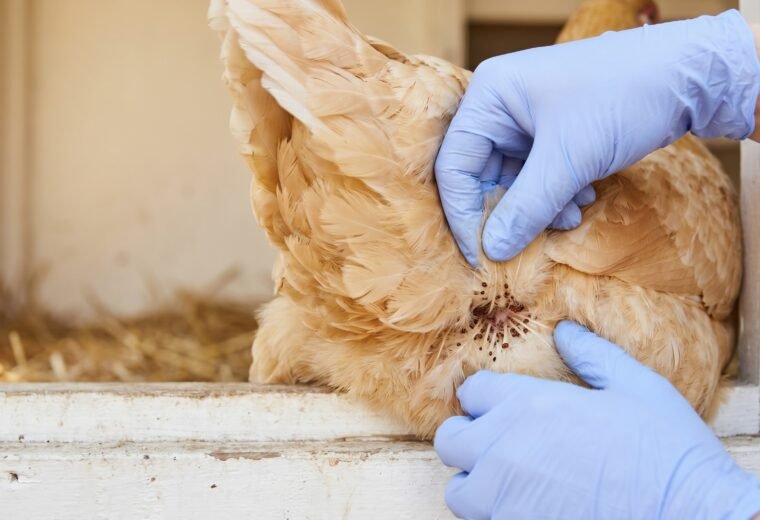
Pull back the bedding in the corners and around the base of the roosts. These are the zones where moisture concentrates and red mites and roost mites like to hide during the day. If you can smell ammonia at human standing height inside the coop, the ammonia at bird-breathing level is already higher - Penn State Extension notes that bird-level concentrations consistently exceed what a person standing upright detects. A sharp nose is a lagging indicator, so treat the smell as an alarm, not a monitoring system.
The weekly pass is also the moment to check nest box bedding. Straw or shavings in the boxes compact quickly and can harbor Penicillium and Aspergillus molds in humid conditions. Pull out anything damp or matted, fluff or replace, and you have addressed the most common source of egg contamination before it becomes one.
Roost bars deserve a scrape if the drop board missed any buildup. Manure left on bars softens and smears overnight, so a quick dry scrape while it is still firm and cold (early morning) removes it far more cleanly than fighting it later in the day.
Which bedding material absorbs best and which should you avoid?
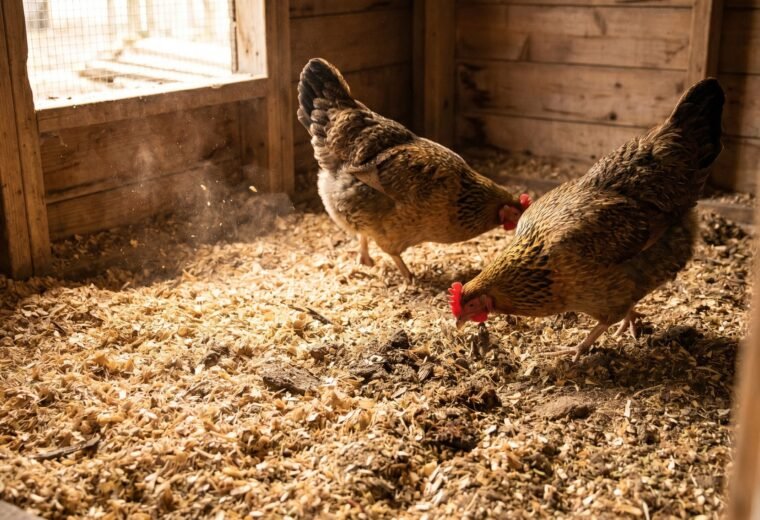
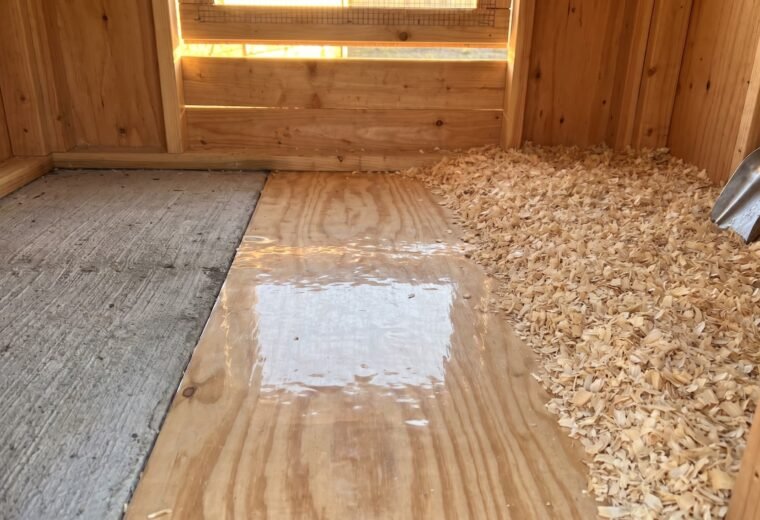
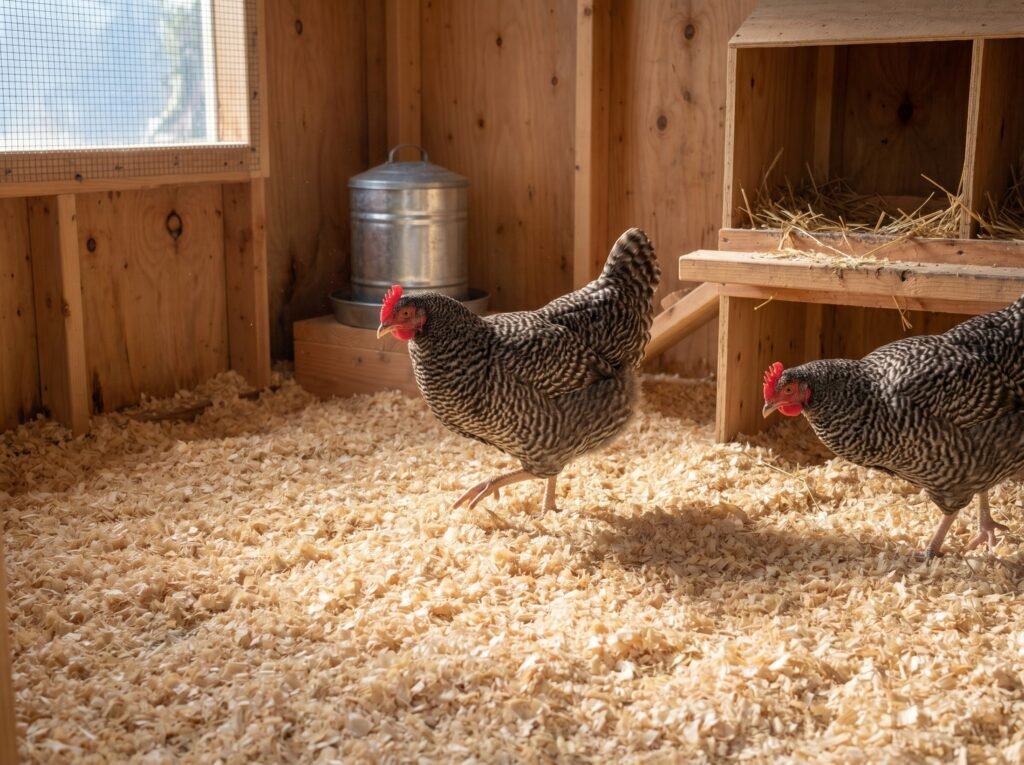
Pine shavings absorb well, resist compaction, and are the most widely recommended choice for covered coops. Straw compacts fast and molds readily; avoid it as a primary floor bedding. Material depth matters as much as material choice - 4 to 6 inches gives birds room to scratch without turning the base anaerobic.
Pine shavings remain the most widely recommended bedding for covered coops. They absorb moisture well, resist compaction longer than straw, and are coarse enough to resist the feet-to-mouth transfer that fine sawdust can promote. Straw, by contrast, has a high lignin content and low water absorption (confirmed in the Frontiers in Veterinary Science review), meaning it mats into an anaerobic layer fast - exactly the environment where pathogens thrive. Hay is worse; it molds readily.
Hemp bedding has gained a following among small-flock keepers for its high absorbency and dust-reduced profile, though independent comparative research on poultry-specific pathogen control is thinner than for shavings. Sand works well on open concrete or packed-earth floors where drainage is good; it is poor in enclosed wooden coops that trap moisture underneath. If you are still deciding on your floor material, the coop flooring guide matches base materials to bedding type.
Depth matters. Most extension sources recommend 4-6 inches (roughly 10-15 cm) of loose bedding on the floor. Less than 3 inches compresses too quickly; more than 8 inches without active turning becomes anaerobic at the base. If you are running the deep litter method - where beneficial microbes in a managed 6-12 inch pack do much of the breakdown work - the calculus changes. That system has its own management rules; if the deep litter approach interests you, start with the deep litter method article before committing to it.
How do you do a proper deep clean of the chicken coop?
Remove all birds and equipment, dry-clean before any water touches the surfaces, wet-wash with hot water and detergent, dry completely, then disinfect. Order matters - disinfectant cannot work through a layer of organic matter, so skipping any earlier step makes the whole process fail.
Cornell University's Small Farms Program recommends a complete dry cleaning, washing, and disinfection at least once a year - and more often if you cycle birds in and out or deal with a disease event. Skipping a step does not just slow the process; it makes the next step fail, because disinfectants cannot penetrate organic matter. Order matters here.
Step 1 - Remove birds and portable equipment
Move the flock to the run or a temporary pen. Pull out feeders, waterers, nest box inserts, and anything else that can be washed separately. This is also the moment to remove all old bedding - rake and shovel it out completely and take it to the compost pile.
Step 2 - Dry cleaning first
Sweep or blow dust off ceilings, walls, light fixtures, ventilation openings, and nest boxes onto the floor. Use a stiff brush to scrape manure deposits off roost bars, the floor, and any ledges. A wet-dry vacuum is useful in hard-to-reach corners. This dry phase is non-negotiable: washing over caked manure simply locks pathogens under a mud layer.
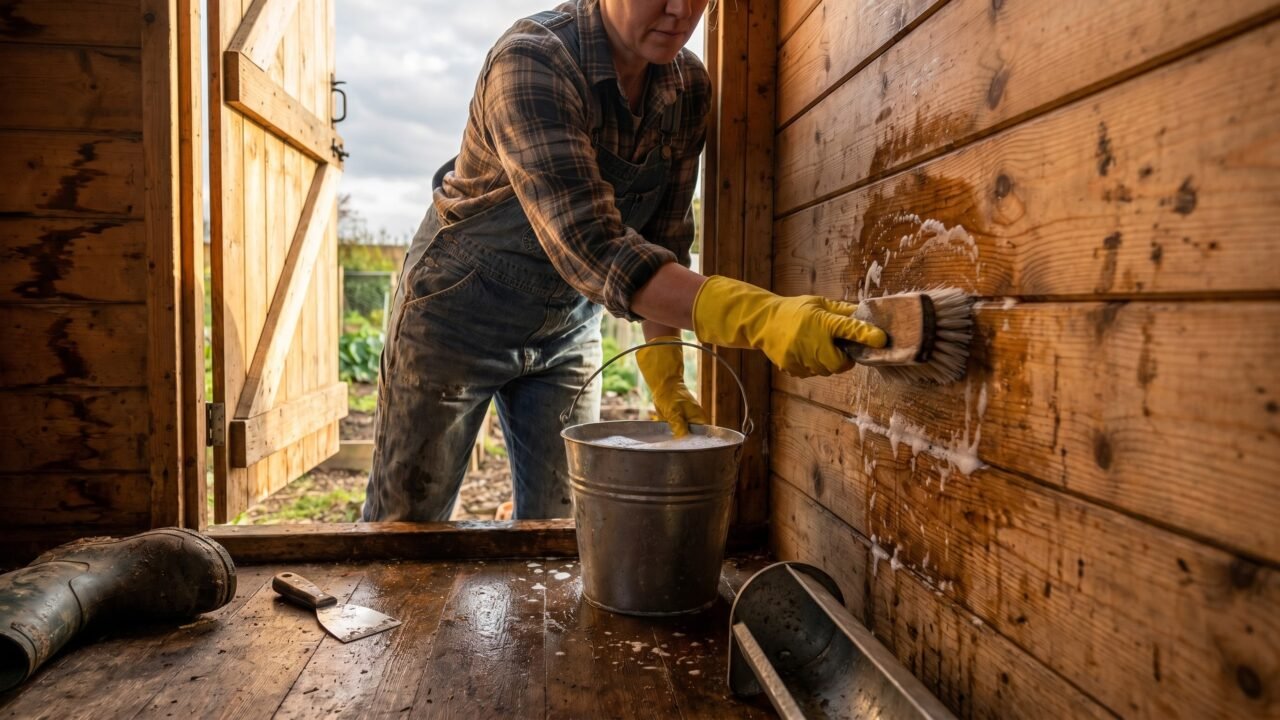
Step 3 - Wet cleaning in three passes
Soak heavily soiled surfaces first - perch zones and floor corners - with a low-pressure hose and warm water. Hot water (160°F or close to it, per Cornell's guidance) does a measurably better job cutting through fat-based organic matter than cold water. Follow with a detergent wash using a stiff brush or low-pressure sprayer and a plain detergent (basic dish soap works). Rinse completely.
Step 4 - Dry the structure before applying any disinfectant
Open every vent and window. Run a fan if you have one. A wet coop defeats a disinfectant - most products are neutralized by residual organic matter and standing water. Give it enough time that surfaces are dry to the touch.
Step 5 - Disinfect
Cornell's guidance lists five classes of disinfectants suitable for poultry houses: phenolic compounds, iodophors, chlorine-based products, quaternary ammonium compounds, and oxidizing compounds. For most backyard keepers, a bleach solution mixed at 3/4 cup bleach per gallon of water (per eXtension's biosecurity module) is practical and effective. Apply at roughly one gallon of diluted product per 150-200 square feet of surface, per Cornell's application guidance. Let it dwell on surfaces, then ventilate and allow to dry again before adding fresh bedding. Never mix bleach with any ammonia-containing cleaner - the combination produces toxic chloramine gas.
For feeders and waterers, soak them in a 200 ppm chlorine solution: one tablespoon of household bleach per gallon of boiling water (per Cornell's guidance), rinsed clean afterward. Allow the solution to cool before submerging plastic equipment, as boiling water degrades hypochlorite rapidly and can warp feeders.
Step 6 - Repairs, then fresh bedding
Before the birds go back in, seal any rodent entry points you found during the clean. Rodent droppings carry disease agents; a fresh, tidy coop is a poor place to let a new infestation start. Then lay down 4-6 inches of fresh pine shavings, set up clean equipment, and return the flock.
Which disinfectant should you use and when?
Household bleach handles most routine deep cleans; a registered phenolic concentrate or oxidizing compound is worth reaching for after a confirmed disease event or when acquiring a used coop. Every product in the table below fails if applied over organic matter - clean first, disinfect second.
Different cleaning scenarios call for different products. This table covers the most common options a backyard keeper will encounter, with honest notes on where each works and where it falls short.
| Product type | Typical dilution | Best for | Limitations |
|---|---|---|---|
| Household bleach (chlorine) | 3/4 cup per gallon water; or 1 tbsp per gallon for equipment soak | General surfaces after thorough cleaning; waterer soak | Inactivated rapidly by organic matter; corrosive to metal; short shelf life once diluted |
| Phenolic disinfectant (registered phenolic concentrate) | Per label | Floors and walls; residual activity longer than bleach | Can be irritating at high concentrations; toxic to cats; read label before using around other animals |
| Quaternary ammonium (quat) | Per label (typically 1-2 oz per gallon) | Equipment and surfaces; less corrosive than bleach | Reduced efficacy in hard water; check label for poultry safety rating |
| Oxidizing compound (registered oxidizing concentrate) | Per label (typically 1%) | Broad-spectrum virus and bacteria kill; useful after disease events | Higher cost; must still clean before applying |
| Iodophor | Per label | Equipment and contact surfaces | Stains; efficacy drops at high pH |
One rule applies to all of them: no disinfectant kills pathogens through a layer of manure. Clean first, disinfect second, every time.
What biosecurity habits keep disease out of a clean coop?
Quarantine new birds for at least 30 days, control who enters in shared footwear, store feed in sealed containers, and keep wild birds out of ventilation openings. A clean coop that gets one sick bird introduced into it can undo weeks of careful hygiene in days.
Cleaning frequency alone cannot substitute for stopping pathogens at the coop door. A few non-negotiable habits make a bigger difference than any product.
Quarantine new birds. USDA APHIS and University of Maryland Extension both recommend at least 30 days of isolation before any new or returning bird joins the main flock. Keep the quarantine area physically separate from the main coop and care for the main flock first, the quarantined birds last. Most infections show symptoms within that window; introducing birds that look healthy but are still incubating a disease is the most common way a clean flock gets sick.
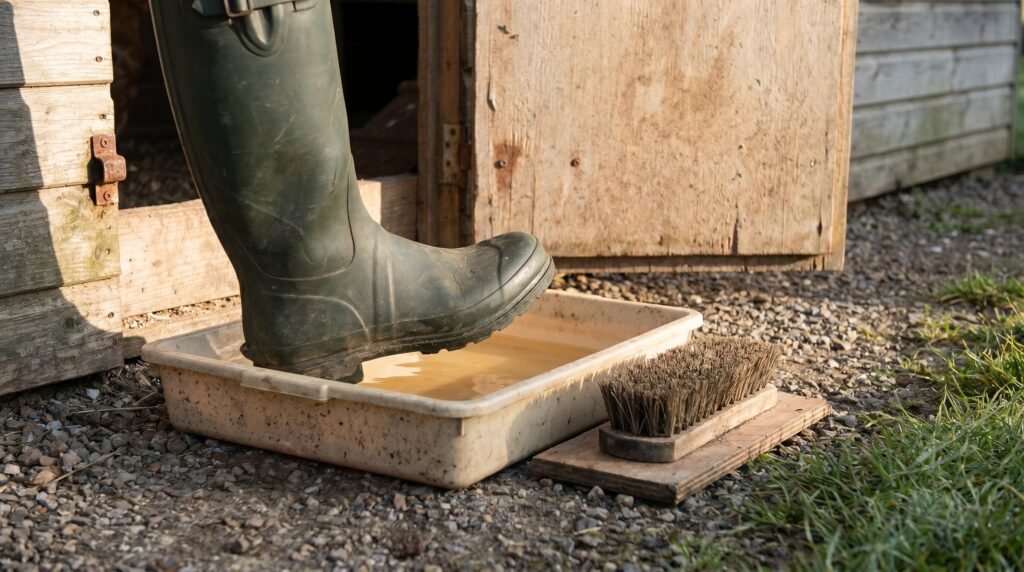
Control who and what enters. Visitors who have been around other birds in the past 24-48 hours should wear clean boots or disposable covers before stepping into your coop. Keep a boot brush and a foot dip at the entrance. This sounds fussy until avian influenza is circulating in the county - at which point it becomes obvious. Knowing what early illness looks like in your birds (lethargy, reduced laying, abnormal droppings) is the other side of good flock health practice.
Store feed in sealed metal or thick plastic bins to cut off the rodent food supply. Clean up any spilled grain immediately. Rodents carry and deposit pathogens directly into the bedding, and a single mouse trail through a waterer can contaminate the whole flock.
Keep wild birds out. Screen ventilation openings and repair any gap a sparrow can squeeze through. Wild waterfowl in particular are a documented reservoir for avian influenza strains.
How often should each cleaning task actually happen?
Daily: drop board, water, damp spots. Weekly: bedding check, roost scrape, nest box refresh. Monthly: scrub feeders and waterers, check screens and seals. Once or twice a year: full deep clean. The table below gives time estimates for a 5-bird coop.
| Frequency | Tasks | Time (5-bird coop, approx.) |
|---|---|---|
| Daily | Scrape drop board; rinse and refill waterers; remove damp bedding patches; collect eggs | 5-10 min |
| Weekly | Check and fluff floor bedding; scrape roost bars; replace nest box material; inspect corners for moisture or mites | 20-30 min |
| Monthly | Scrub and disinfect waterers and feeders; check vent screens and door seals; inspect for rodent entry | 30-45 min |
| 1-2 times per year (deep clean) | Full remove-all, dry clean, wet wash, disinfect, repair, re-bed | 2-4 hours depending on coop size |
| Any time | After a disease event, before adding new birds, after flooding or pest infestation | Full deep clean protocol |
Time estimates here are for a 5-bird coop of roughly 20-25 square feet. Scale up proportionally for larger structures.