The weeks right after winter are the most productive hours you will spend with your flock all year. The coop has absorbed months of moisture, the run has likely shifted, mite populations are climbing as temperatures rise, and laying hens are waking up from a low-production slump as the days lengthen. Tackling these five areas now, before things compound, sets up a smoother season from April through October.
This guide walks through each area in order of urgency, with the specific numbers and reasoning that let you judge your own situation rather than follow a script. Cleaning comes first because ammonia and moisture damage begins immediately; parasites and run repairs follow because both problems are already developing while the coop is still closed; laying support and brooding prep come last because they depend on the environment being sorted first. At the bottom you will find a printable one-page checklist that pulls every action into a single reference.
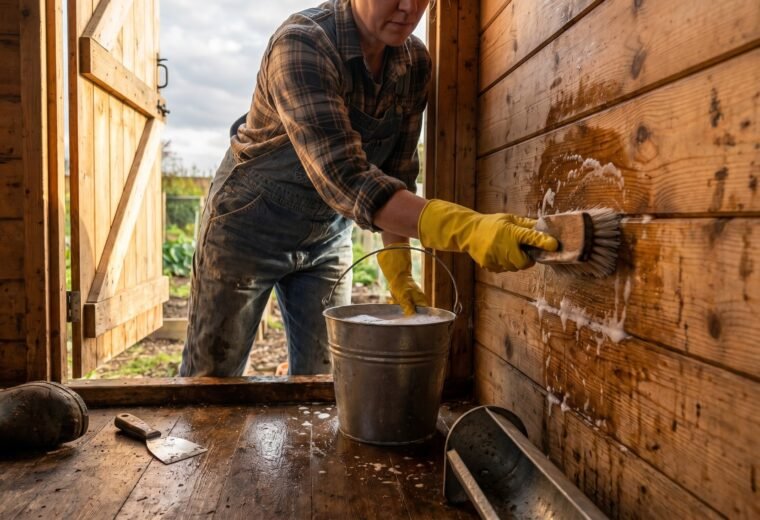
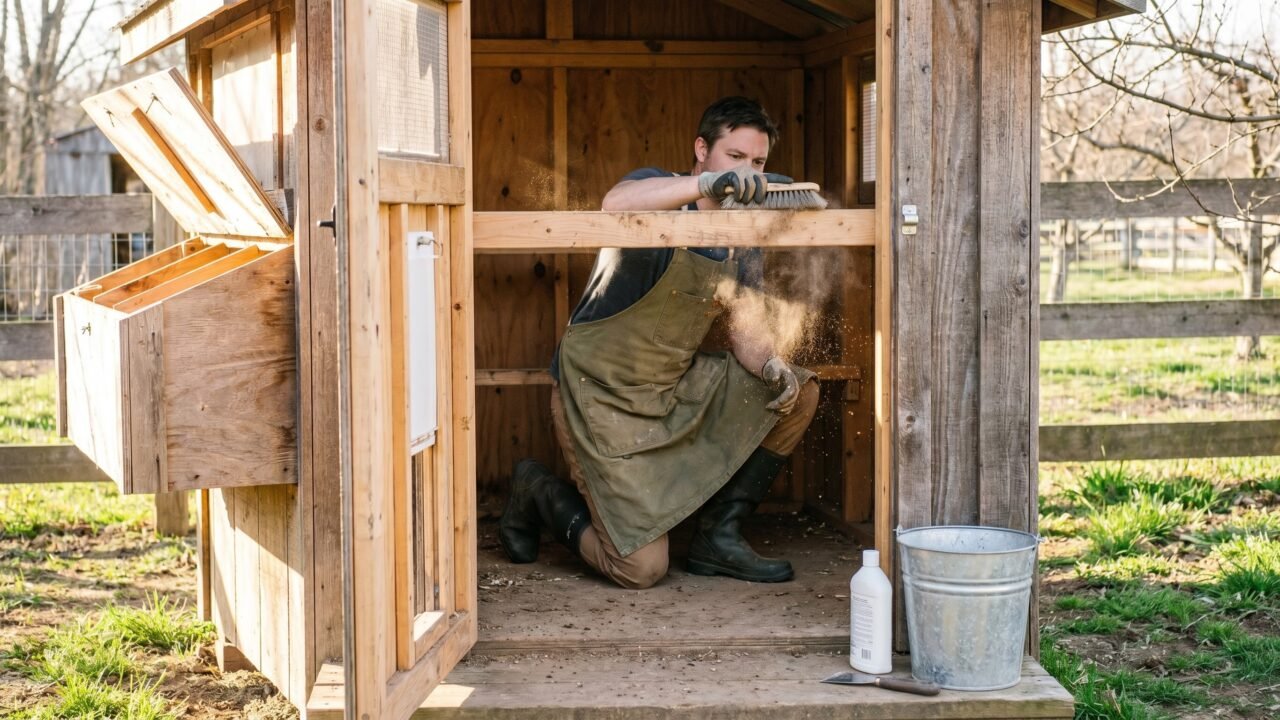
Deep-cleaning the coop after winter
Winter litter compresses, stays damp, and builds ammonia faster than summer bedding. Extension housing guidelines recommend keeping ammonia below 25 ppm - a threshold the human nose typically cannot detect until levels are already at 20-30 ppm, which means the birds are suffering before you smell anything. A full cleanout is the most reliable reset.
Work in this sequence: remove all birds to a temporary pen, pull out every scrap of old litter and scrape dried manure from roost bars and nest boxes, then sweep the floor and walls. Do not apply any disinfectant until the organic matter is completely gone - debris neutralizes disinfectants and makes them ineffective. A diluted bleach solution (follow the label for concentration) works on bare wood and hardware surfaces, but never mix bleach with ammonia-containing products or residues, which together release chlorine gas. Let surfaces dry fully before adding fresh bedding.
Pine shavings at 4-6 inches work well as a base layer. Avoid cedar; its aromatic oils irritate respiratory tracts. If wet spots appeared under roosts through winter, improve drainage by raising the coop floor grade or adding a gravel pad under the structure. Wet litter is the single fastest path to respiratory illness and foot problems in a small flock. Pull and replace damp patches immediately whenever you find them, not just at deep-clean time.
Once clean, inspect the coop's ventilation. Each bird needs roughly 1 square foot of vent opening to clear moisture and ammonia - more is generally better than less. Check that winter-added foam or rags stuffed into gaps (a common cold-weather habit) are removed now that temperatures have risen. Spring humidity with blocked ventilation is a reliable recipe for wet litter and mold. Our detailed guide to cleaning the chicken coop walks through disinfectant choices and timing for a flock that cannot be displaced for long.
Parasite check: mites and lice in spring

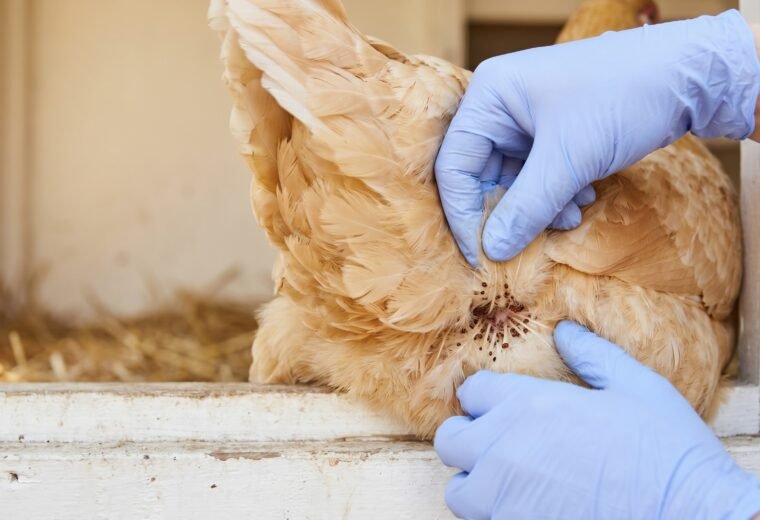
Mite pressure rises sharply in spring warmth. Knowing which species you are dealing with changes where you treat, so check both locations.
Northern fowl mites live on the birds around the clock. Part the feathers around the vent and base of the tail - if you see tiny dark dots moving in the shafts, that is northern fowl mite. Red mites (also called roost mites or chicken mites) do the opposite: they hide in cracks in roost bars, nest box joints, and wall seams during daylight, feeding on birds only at night. To find them, run a white paper towel along roost crevices after dark - red smears confirm an active population. A flock can carry both species simultaneously, which means treating only the birds misses the coop infestation and vice versa.
The retreatment schedule is the piece most keepers get wrong. According to Poultry Extension's external parasite guidance, none of the standard treatment materials kill mite eggs, so a single application only knocks down the adults. You must retreat every 4-7 days to catch newly hatched mites before they reproduce - northern fowl mite can complete egg-to-adult development in under a week. Missing that second or third treatment and assuming you are clear is the most common reason an infestation bounces back within a month.
Permethrin-based dusts and sprays (applied per label instructions) are the most widely used option for both species; there is no egg withdrawal period for permethrin at label rates. Diatomaceous earth in dust bath areas can be part of routine maintenance, but Poultry Extension is direct: DE "may help to control mites but won't eliminate them since it has no effect on eggs." Use it as a complement, not a primary treatment.
For a deeper look at species identification and lifecycle details, our chicken mites guide covers both northern fowl mite and red mite in the kind of detail that helps you confirm what you are actually seeing before you treat.
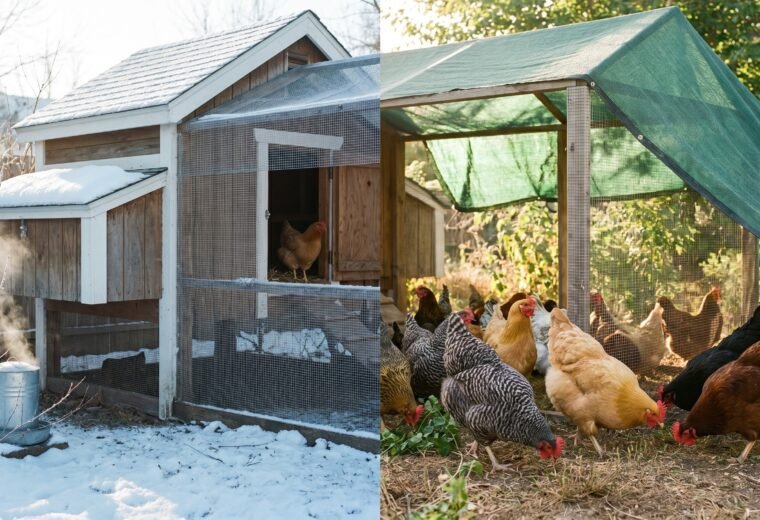
Run inspection and repair after winter
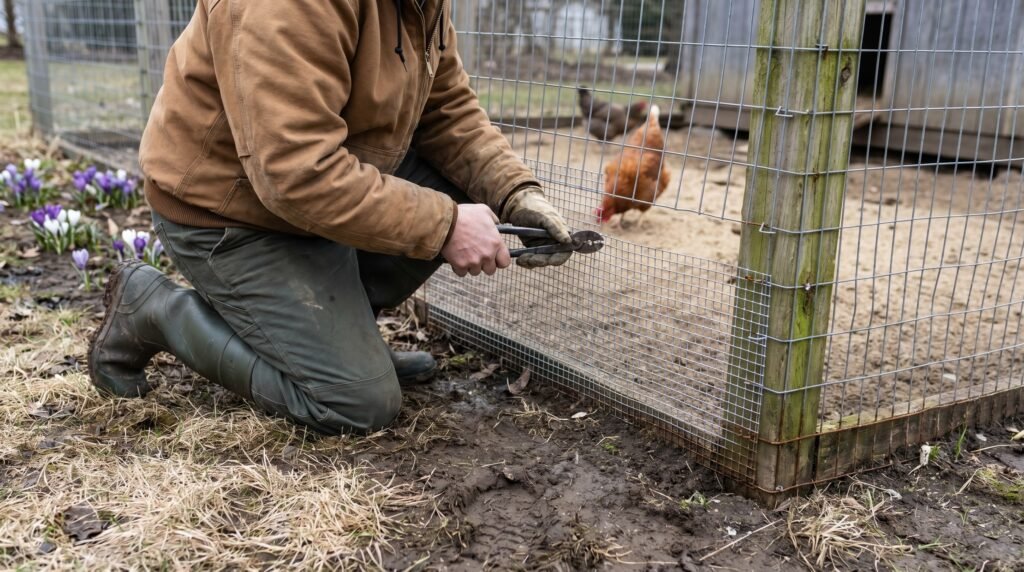
Winter is hard on wire. Freeze-thaw cycles shift fence posts, snow load bends panel sections, and ice forces hardware cloth staples out of wood. Before the flock spends full days in the run, walk every linear foot of perimeter and look for these specific failure points.
- Buried wire or apron: Predators dig in early spring when food is scarce. Extension guidance specifies burying hardware cloth at least 12 inches down, or bending a 12-inch horizontal apron outward from the fence base. Check whether frost heave has exposed buried sections or displaced the apron angle.
- Mesh integrity: Half-inch hardware cloth stops raccoons and most weasels. Quarter-inch stops least weasels, which can squeeze through any gap their skull fits. Any hole larger than half an inch in the lower 18 inches of the run is a risk worth patching with a staple gun and a hardware cloth patch before spring wildlife activity peaks.
- Gate latches and door hardware: Raccoons learn to work simple hook-and-eye latches through a season of trial. Spring is a good time to replace any worn latch with a two-step closure (a carabiner through a hook, or a padlock) rather than waiting for a breach.
- Overhead cover: If hawks are active in your area, a covered run is the only reliable protection. Orange netting is widely recommended for covered runs. Make sure no sections of cover have sagged or torn - hawks probe weak spots.
- Run floor drainage: Standing water from snowmelt turns run floors into mud. A 2-3 inch layer of coarse construction sand or pea gravel sheds water far better than bare earth and keeps feet cleaner.
The broader guidance on seasonal chicken care covers how run conditions shift from spring through summer and what to watch as heat arrives.
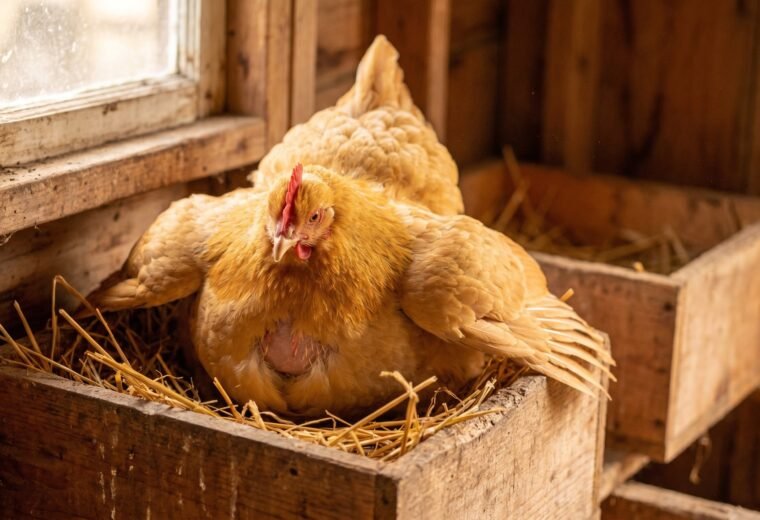
Supporting the laying flock as production ramps up
Spring's longer days are what flocks have been waiting for. Hens are "long-season breeders" - when day length increases toward roughly 14 hours, the brain signals the reproductive system to ramp back up and egg production climbs. Hens that slowed through winter can return to near-peak rates over four to six weeks without any intervention from you. The job now is to make sure nutrition matches that increased demand.
Eggshell quality is the most visible sign that calcium intake is adequate. Layer rations typically contain 2.5-3.5% calcium, but a flock producing at full pace may need more. Keep oyster shell in a separate free-choice dispenser at all times through the active season - hens self-regulate intake and take only what they need. If you see thin-shelled or soft-shelled eggs, the first adjustment is more available calcium, not a feed change. Grit (insoluble granite) should also be available free-choice for any flock that is not ranging on natural soil.
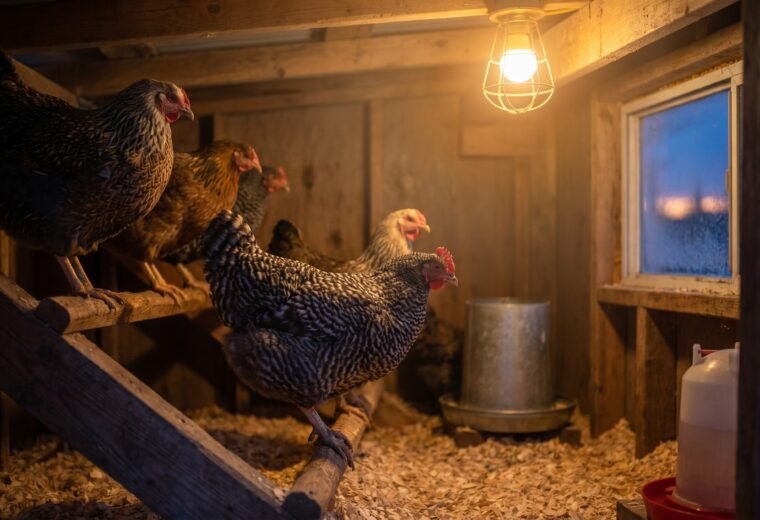
Spring is also when supplemental lighting becomes optional rather than necessary. If you were running a light to maintain 14-16 hours through winter, you can now reduce or eliminate it as natural daylight catches up. Adjust by no more than one hour per week to avoid disrupting the cycle abruptly. Our article on encouraging winter laying explains the photoperiod mechanics in detail if you want to understand why the gradual step-down matters.
A three-bird example illustrates the feeding math: three active layers each eating roughly 0.25 lb of layer feed daily amounts to about 0.75 lb of feed per day for the small pen. If you are adding scratch or treats beyond that - table scraps, fermented grain, garden thinnings - keep those extras to no more than 10% of total intake. Scratch grains dilute the protein and calcium in the ration; a hen that fills up on scratch before finishing her layer pellets produces lower-quality shells and can drop in output within a week.
Broody season and chick prep

Spring is when broody behavior peaks. Longer days, warmer temperatures, and a full nest box trigger the hormonal shift in predisposed breeds (Silkies, Cochins, and certain heritage breeds go broody reliably; production Leghorns almost never do). Whether you plan to use a broody hen or set up an incubator and brood chicks yourself, the prep steps are similar.
Setting up a broody hen
If you want a broody hen to hatch eggs, move her to a quiet, separate space away from the main flock before you place fertile eggs under her. This reduces the chance of another hen climbing into the same nest and disrupting the clutch. Mark the eggs you intend her to hatch so you can remove any extras that get added by flockmates. Incubation runs 21 days; set a date so you know when to expect pips and can check in without disturbing her unnecessarily. Once chicks hatch, the broody hen manages brooder temperature on her own - but provide chick starter (18-20% protein) rather than adult layer feed, since the chicks will be eating from the same source.
Setting up a brooder for hatchery chicks
If you are not using a broody hen, a hatchery order needs a purpose-built brooder ready before the chicks arrive. If you are ordering day-old chicks rather than hatching your own, clean and disinfect the brooder box at least two weeks before arrival. Activate the heat source one day early to stabilize the temperature before the chicks land. Starting temperature at chick level is 90-95°F for week one, dropping by 5°F per week until supplemental heat is no longer needed - typically by week five or six when chicks are fully feathered. A heat plate is a lower fire-risk option than a heat lamp (mount a heat plate 2-4 inches above chick back height so chicks can duck underneath); if you use a lamp, suspend it by chain or wire (never the cord) and keep it at least 18-20 inches above bedding.
Chick behavior tells you more than any thermometer. Birds huddled directly under the heat source are cold; birds pressed to the outer edges are too hot. A comfortable group spreads out evenly and is active and vocal. Those behavioral cues matter more than a specific dial reading when ambient room temperature varies.
Our guides on managing a broody hen and on brooder temperature by week go into more detail if you are working through either of these for the first time.
Spring chicken-keeping checklist (one-page reference)
Use this table to track your progress across all five areas. The priority column reflects urgency for most temperate-climate flocks in March-April; adjust timing for your hardiness zone.
| Task | What to do | Key number or standard | Priority |
|---|---|---|---|
| Full litter removal | Remove all old bedding, scrape roosts and nest boxes, sweep surfaces | Replace with 4-6 in pine shavings; never cedar | Do first |
| Disinfect surfaces | Apply disinfectant only after all organic matter is removed; dry fully before adding birds and bedding | Never mix bleach with ammonia compounds | Do first |
| Ventilation check | Open or clear vents closed for winter; verify ~1 sq ft vent opening per bird | Ammonia target: below 25 ppm | Do first |
| Mite and lice inspection | Check vent area on each bird (northern fowl mite) and roost crevices after dark (red mite) | Retreat every 4-7 days; DE alone will not eliminate (no effect on eggs) | Week 1 |
| Permethrin treatment if needed | Treat both birds and coop surfaces; follow label; repeat on schedule | 4-7 day retreatment window; egg-to-adult in under a week for NFM | Week 1-2 |
| Run perimeter walk | Check buried wire depth (12 in minimum), patch gaps larger than 1/2 in, test all latches | 1/4-in mesh stops least weasels; 1/2-in stops most other diggers | Week 1 |
| Overhead cover inspection | Check for tears, sags, or weak spots; secure any loose netting | Orange netting recommended for hawk visibility | Week 1 |
| Run floor drainage | Add coarse sand or pea gravel if mud is present from snowmelt | 2-3 in layer minimum for effective drainage | Week 2 |
| Confirm layer feed and calcium | Verify flock is on 14%+ protein layer ration; fill oyster shell dispenser | Layer ration: 2.5-3.5% calcium; oyster shell free-choice at all times | Week 1 |
| Scratch and treat audit | Reduce scratch and treats to 10% or less of total daily intake | Scratch dilutes calcium and protein in ration | Ongoing |
| Supplemental light step-down | If you ran artificial light through winter, reduce by no more than 1 hr/week as natural days lengthen | Natural daylight hits 14 hrs in most temperate zones by late spring | March-April |
| Broody hen setup (if applicable) | Move broody to separate pen before placing fertile eggs; mark eggs to track extras | Incubation: 21 days; feed chick starter once hatched | As needed |
| Brooder prep for hatchery chicks | Clean and disinfect brooder 2 weeks before arrival; run heat source 24 hrs before chicks land | Start at 90-95°F; reduce 5°F/week; heat plate preferred over lamp | Before chick arrival |
| Quarantine any new birds | Keep new additions separate from existing flock | Minimum 2-week quarantine before integration | Before introducing new birds |