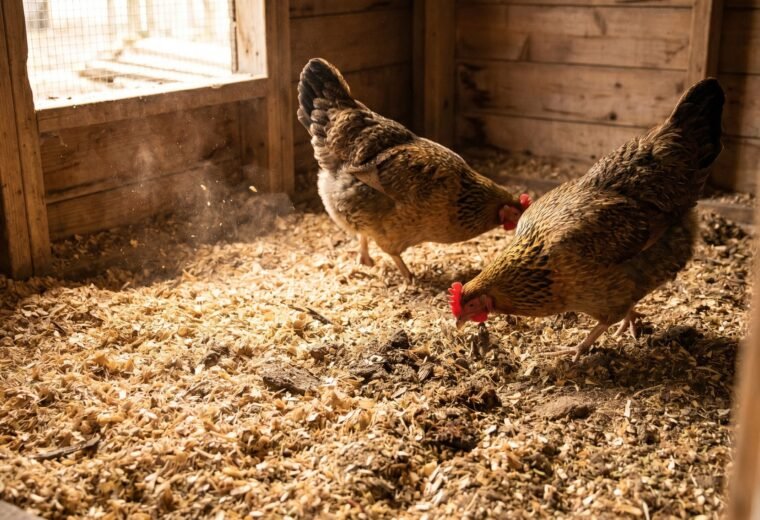
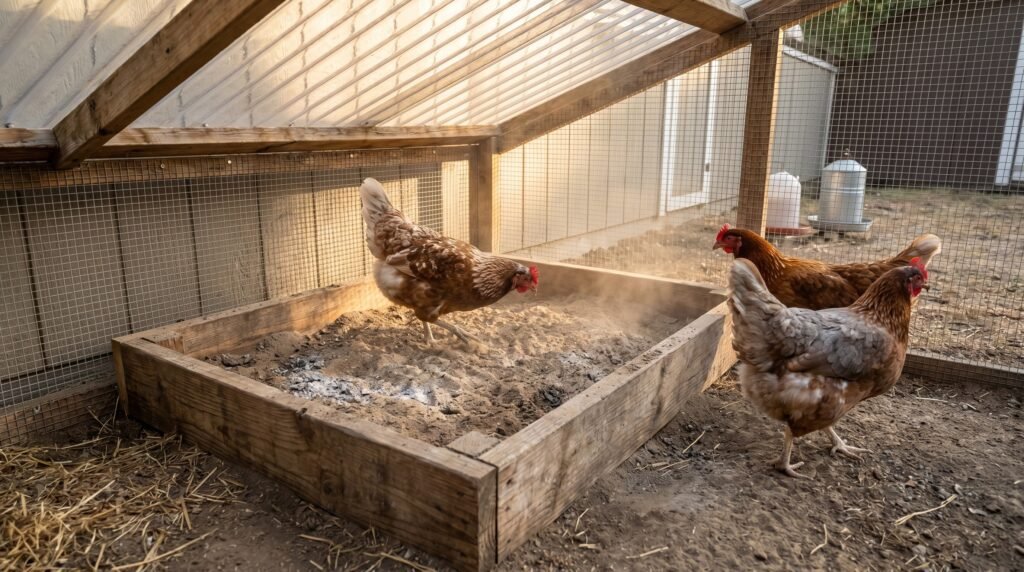
Watch a chicken drop into a sunny patch of loose dirt, flap her wings sideways, and scrub her face along the ground for 15 minutes, and it's obvious something important is happening. That ritual is a dust bath, and it is not optional behavior. Chickens treat it as a biological need, performing the motions even on bare wire flooring if nothing else is available. Build them a proper one and they will use it nearly every afternoon, often in a cheerful cluster.
Below is everything the HenAcre team has tracked across our mixed flock of 14 birds (standards plus a few bantams) about why dust bathing matters, what goes in the box, what to keep out, and how to set it up so it stays dry and usable year-round.
Why do chickens dust bathe?
The short version: it is feather maintenance and parasite management rolled into one instinct.
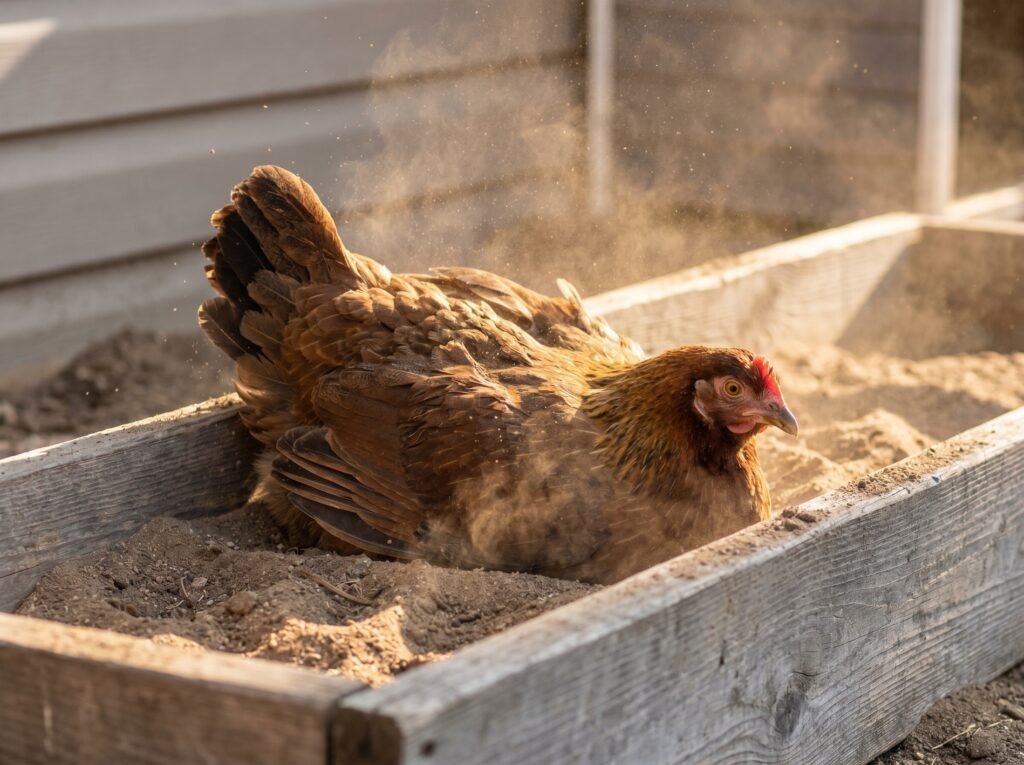
A chicken's preen gland produces oils that spread across the feathers during grooming. Over time, those lipids build up and reduce the plumage's insulating capacity. Dust works as a natural absorbent, working down through the feathers to the skin. When the hen shakes it off, excess lipid goes with it. Research published in poultry ethology literature describes the mechanism directly: the dust "may reduce the amount of feather lipids and so help the plumage maintain good insulating capacity and may help control of ectoparasites." Both benefits from one behavior.
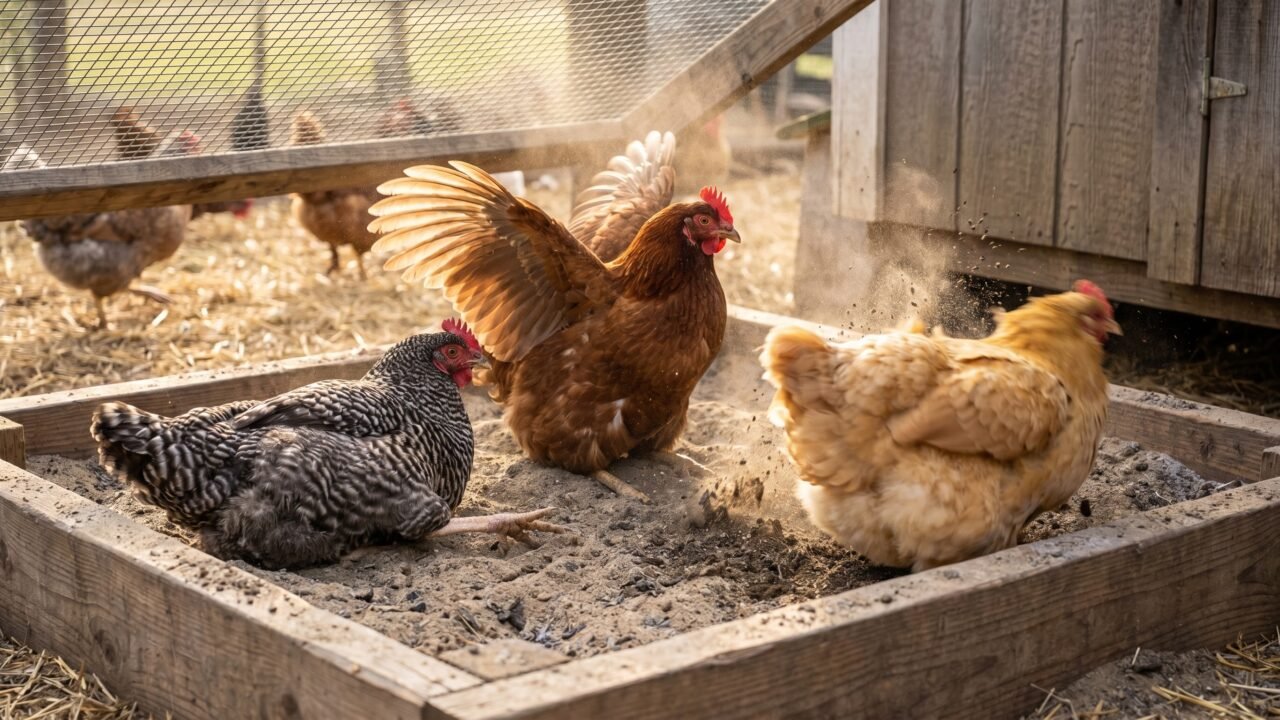
The sequence itself is distinct enough that you can clock each phase. A hen scratches and bill-rakes the substrate, erects her feathers, squats down, then works through vertical wing-shaking, head rubbing, and leg scratching. The whole session averages 7 to 15 minutes per bout depending on the hen's genetics - studies comparing white and brown laying strains found white birds averaged 13 to 15 minutes per session, while brown strains averaged 7 to 9 minutes. Hens can spend up to 23% of their daily activity time on litter for dust bathing. That is a significant behavioral investment.
The motivational drive is real. Extension.org's poultry behavior resource notes that hens "have shown a willingness to work to gain access to material for dust bathing," and when deprived of a proper substrate, the urge builds rather than fades. Denied hens go through the full motion sequence on bare wire - ineffective, but they cannot suppress the impulse. Giving the flock a well-built bath spot removes that frustration entirely.
Timing follows a circadian pattern. Most bathing happens at midday to early afternoon, and it is often social. When one hen starts, nearby birds tend to join. We've watched three or four hens in our run squeeze into a single favorite corner, each clearly aware of the others and seemingly encouraged by them. Research confirms this social facilitation: the presence of bathing conspecifics significantly increases the frequency of the behavior across a group.
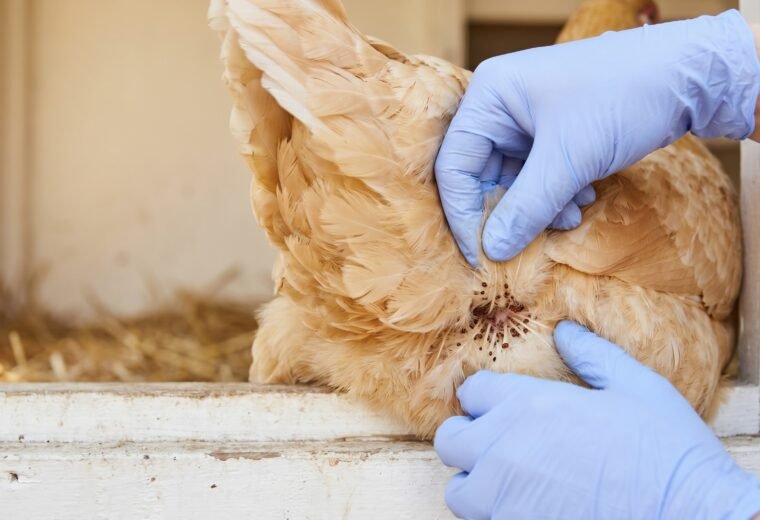
For the parasite side of the equation, the mites and lice article (chicken mites and lice) breaks down which parasites a dust bath actually discourages and which ones require separate treatment - a useful distinction when you have a real infestation to manage.
What should you put in a chicken dust bath?
Substrate choice is not trivial. A meta-analysis of floor-substrate preference studies found that chickens dustbathe on sand and peat moss significantly more than on wood shavings or other materials - sand and peat moss dominated 79% of observed bathing time vs 16% for wood shavings. The preference comes down to particle size and how the material moves through feathers: birds favor substrates that "look and feel like dirt" and can be "easily distributed throughout the plumage."
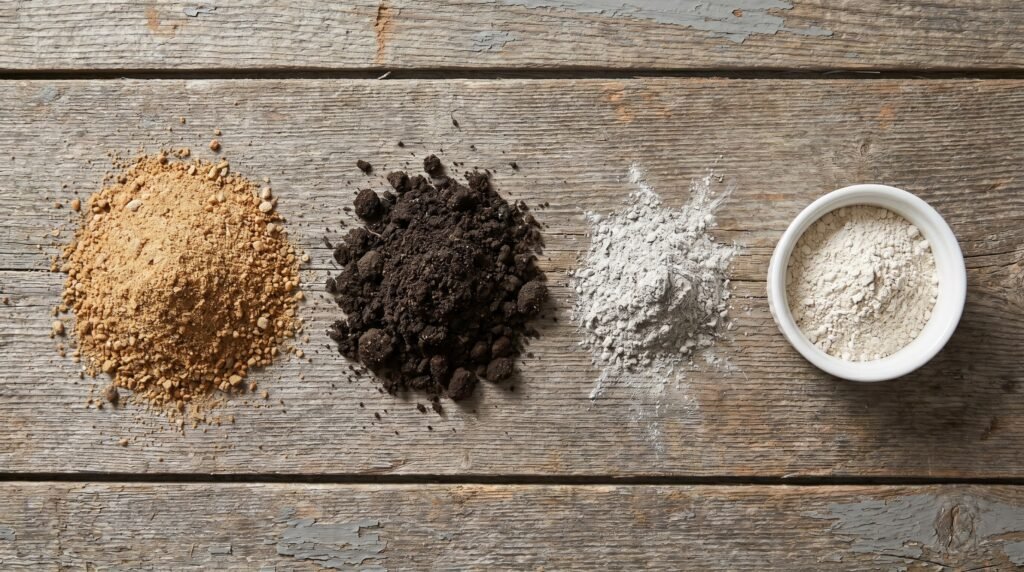
For a practical backyard mix, the HenAcre team uses a base of three parts coarse builder's sand to one part fine garden soil (or dry loam), with an optional fourth element depending on the season. Peat moss - equally preferred to sand in the research - is left out of the everyday recipe because it is more expensive, can make a dusty mess that tracks into the coop, and its lower pH interacts unpredictably with wood ash over time; it is a good swap for the soil portion if garden loam is unavailable, however. Here's how each ingredient earns its place:
| Ingredient | Why it helps | Proportion | Watch out for |
|---|---|---|---|
| Coarse builder's sand | Fine particles penetrate feathers; preferred substrate in behavior research; drains well and stays loose | 50-55% of mix | Avoid fine play sand - it compacts, packs wet, and some bags contain added chemicals |
| Dry garden soil / loam | Closest match to natural dirt; adds organic particle variety | 25-30% of mix | Must be dry; skip if from a chemically treated garden bed |
| Wood ash (from untreated hardwood) | Desiccant; raises pH making the surface inhospitable for soft-bodied parasites; traditional practice in poultry keeping | 10-15% of mix | Only ash from natural untreated wood (oak, maple, fruitwood); never charcoal briquettes or painted/treated lumber |
| Food-grade DE (optional) | Abrades mite cuticles, causing dehydration; included in UC ANR's recommended mixture | 2-5% of mix (optional; omit if no mite pressure) | Respiratory hazard if inhaled; ventilate well; wear a dust mask when adding; does not kill mite eggs |
The honest word on diatomaceous earth
DE is the ingredient that generates the most debate in backyard poultry circles, and the debate is legitimate. The mechanism is real: food-grade DE is physically abrasive and "will remove the oily or waxy cuticle layer on the outside of a mite," causing the mite to lose moisture and die (poultry.extension.org). UC ANR's recommendation for a dust bath is 6 cups of food-grade DE per 50-pound bag of sand - a small fraction of the total mix.
The caution is also real. UC ANR and Alabama Cooperative Extension both specify the same precaution: apply in well-ventilated areas and wear a dust mask when handling it ("don't breathe the dust"). OSHA's hazard communication guidance requires manufacturers to address silicosis potential on safety data sheets for DE products. The birds themselves stir it up every time they bathe, so the risk is ongoing, not just during setup. Food-grade DE contains less than 1% crystalline silica, which puts it in a different risk category than filter-grade or heat-treated products, but dusty conditions are still dusty conditions.
In our coop, we add a small measure of food-grade DE when refreshing the bath after wet weather, but we do not treat it as a mite cure. For an active mite infestation, a dust bath, however well-built, is not a substitute for veterinary-recommended treatments such as permethrin-labeled products - a poultry vet can advise on the right product and dose for your flock. The chicken mites article shows what a real mite infestation looks like on the bird and coop surfaces - worth reading before deciding whether to escalate to a vet.
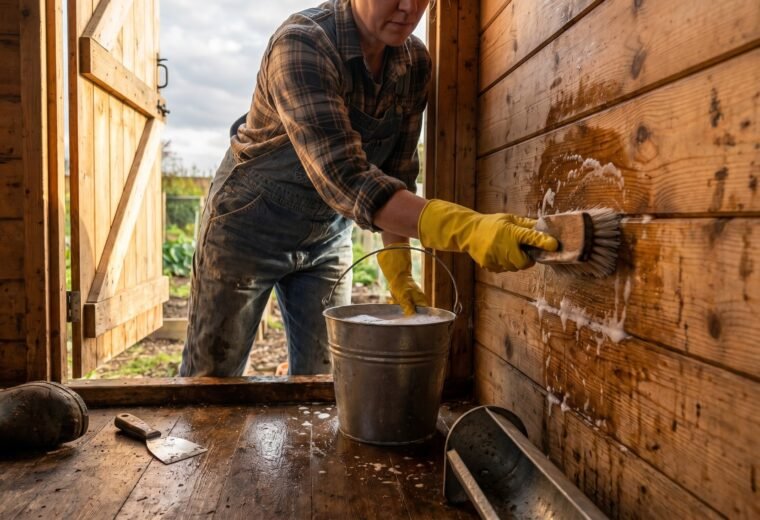
How do you build a chicken dust bath?
The build itself is simple. Any container that holds 6 to 8 inches of loose substrate and has low enough sides for birds to step in qualifies. We have used a cut-down wooden pallet box, a half-barrel planter, and a framed-out ground patch with landscape timbers - all worked. Old automotive tires are sometimes suggested as a free option, but are best avoided: aging rubber can leach zinc and other compounds into the substrate, and zinc toxicity in poultry is documented. What consistently fails is anything waterproof-bottom-only without drainage, because trapped moisture turns the mix into useless clumped mud.
For sizing, match the container to the number of birds expected to bathe simultaneously. Chickens are social bathers, but they also want elbow room during the behavior - they prefer larger inter-bird distances during a bath because they are temporarily vulnerable and lying down. A practical guideline: plan for two or three birds at once, since peak-afternoon use is staggered even in a flock of a dozen. A container roughly 30 by 24 inches serves four to six standard hens comfortably; a 24-inch square works for a small flock of three or four. Bantams need less space. If you have 10 or more birds, a second bath elsewhere in the run reduces competition.
Depth matters more than footprint. The substrate needs to be at least 6 inches deep - enough for a hen to fluff her way down to the skin level of the material. Shallower than that and you will see the classic frustration behavior: the hen scrapes at the container floor trying to go deeper. Eight inches of mix is better; it allows natural stirring over time without going completely flat.
Step-by-step setup for a basic wooden-frame bath:
- Cut four boards (2x8 or 2x10 untreated lumber works well - avoid pressure-treated) to form a rectangle - roughly 30 by 24 inches for a small flock, larger if needed.
- Fasten corners with screws. No bottom board needed if sited on bare earth - drainage is natural and hens can scratch deeper.
- If placing on a hard surface, drill drainage holes in a plywood bottom, spaced every few inches.
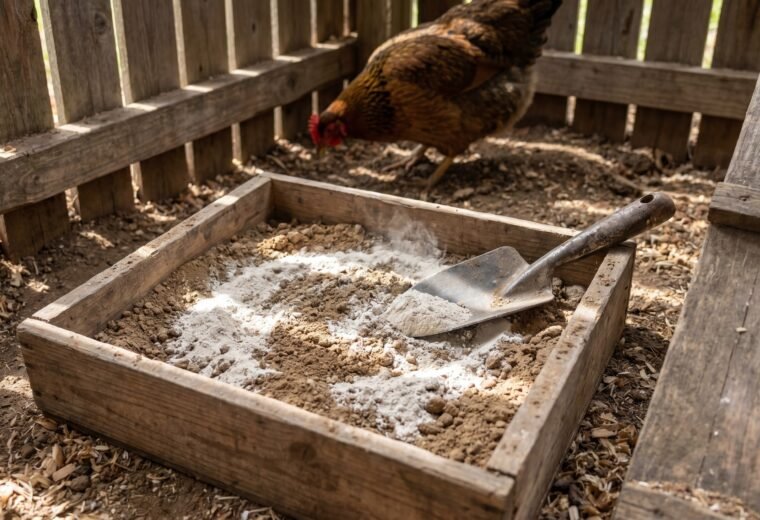
- Fill to 6-8 inches with the sand/soil/ash mix described above.
- Place in chosen location (see next section) and let the flock discover it. Most birds will investigate within a day.
If the run layout makes siting the bath tricky, chicken run design ideas walks through covered corners, raised sections, and keeping functional zones separate from traffic areas.
Where should you place a chicken dust bath?
Location is the most overlooked part. A well-mixed bath in the wrong spot gets ignored.
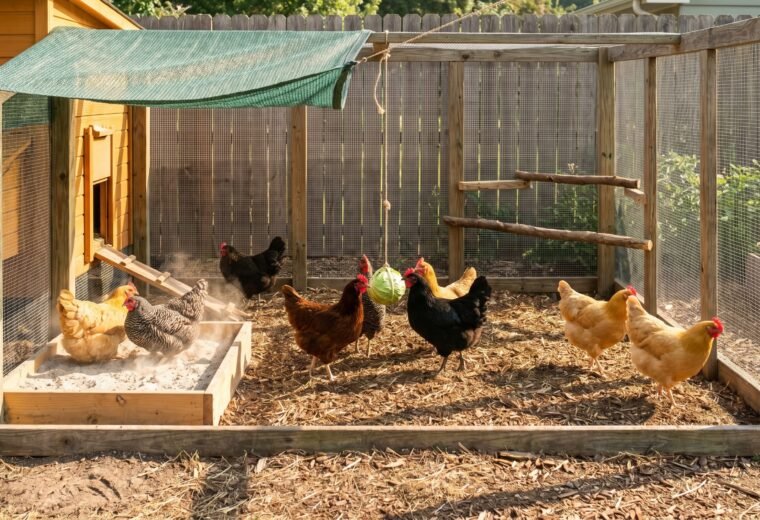
Chickens bathe at midday to early afternoon and they choose spots with two qualities: partial sun (they like warmth on their feathers during and after bathing) and overhead cover (they are lying exposed and vulnerable, and open sky makes them uneasy). A spot that gets morning shade and afternoon sun, under the roof of a covered run or beneath an overhanging structure, hits both. Flat open-run centers with no overhead shelter are the worst-performing locations in our observation.
Keeping the substrate dry is the other constraint. Wet sand and soil do not coat feathers - they clump and pack. Rain ruins a bath within one storm if the site is exposed. Options for weatherproofing:
- Place the bath inside a covered run (simplest; no additional structure needed)
- Build a simple lean-to of corrugated polycarbonate over an outdoor bath
- Position under the gap beneath an elevated coop floor, which gets afternoon light through an open run door
- Use a deep-sided container with a hinged lid you flip back each morning - workable for small setups, annoying at scale
After rain, stir the top few inches of the bath with a trowel. If only the surface got damp, the lower layer is often still usable. If the whole depth is saturated, the fastest fix is to scoop out the wet top, spread it on hardware cloth to dry in the sun, and let it sit before putting it back.
One placement mistake we have seen repeatedly: siting the bath directly next to waterers or feeders. Chickens scatter substrate during bathing, and grit-contaminated water and feed create unnecessary cleaning work. Keep the bath at the opposite end of the run from waterers, or in a dedicated corner separated by at least a few feet.
How often should you refresh a chicken dust bath?
A dust bath is lower-maintenance than most coop elements, but it does need attention. A few practical benchmarks from our own seasonal routine:
- Stir the substrate weekly. Chickens compress and segregate the mix over time - the fine particles settle to the bottom and the coarser sand ends up on top. A quick turn with a trowel restores the friable texture they prefer.
- Top up with fresh material every four to six weeks. The mix depletes as birds fling substrate out during bathing - it ends up scattered across the run floor and is not really recoverable. Budget for a small bag of sand and a bucket of soil every month or so for a flock of 10 to 12 birds.
- Replace completely two or three times per year. Even well-managed baths accumulate droppings (hens sometimes sit in the bath area for a while after bathing), compacted fines, and moisture-related breakdown. A full dump and refill takes 20 minutes and resets everything.
- If using wood ash, replenish that ingredient after each full replacement - it breaks down and loses its desiccant effect over time.
Signs the bath needs attention sooner than the schedule above: birds scratching at the container floor, clumping substrate that sticks together when you press it, an unusual smell (moisture plus droppings), or hens rejecting the bath altogether and attempting to scratch out dust somewhere else in the run.